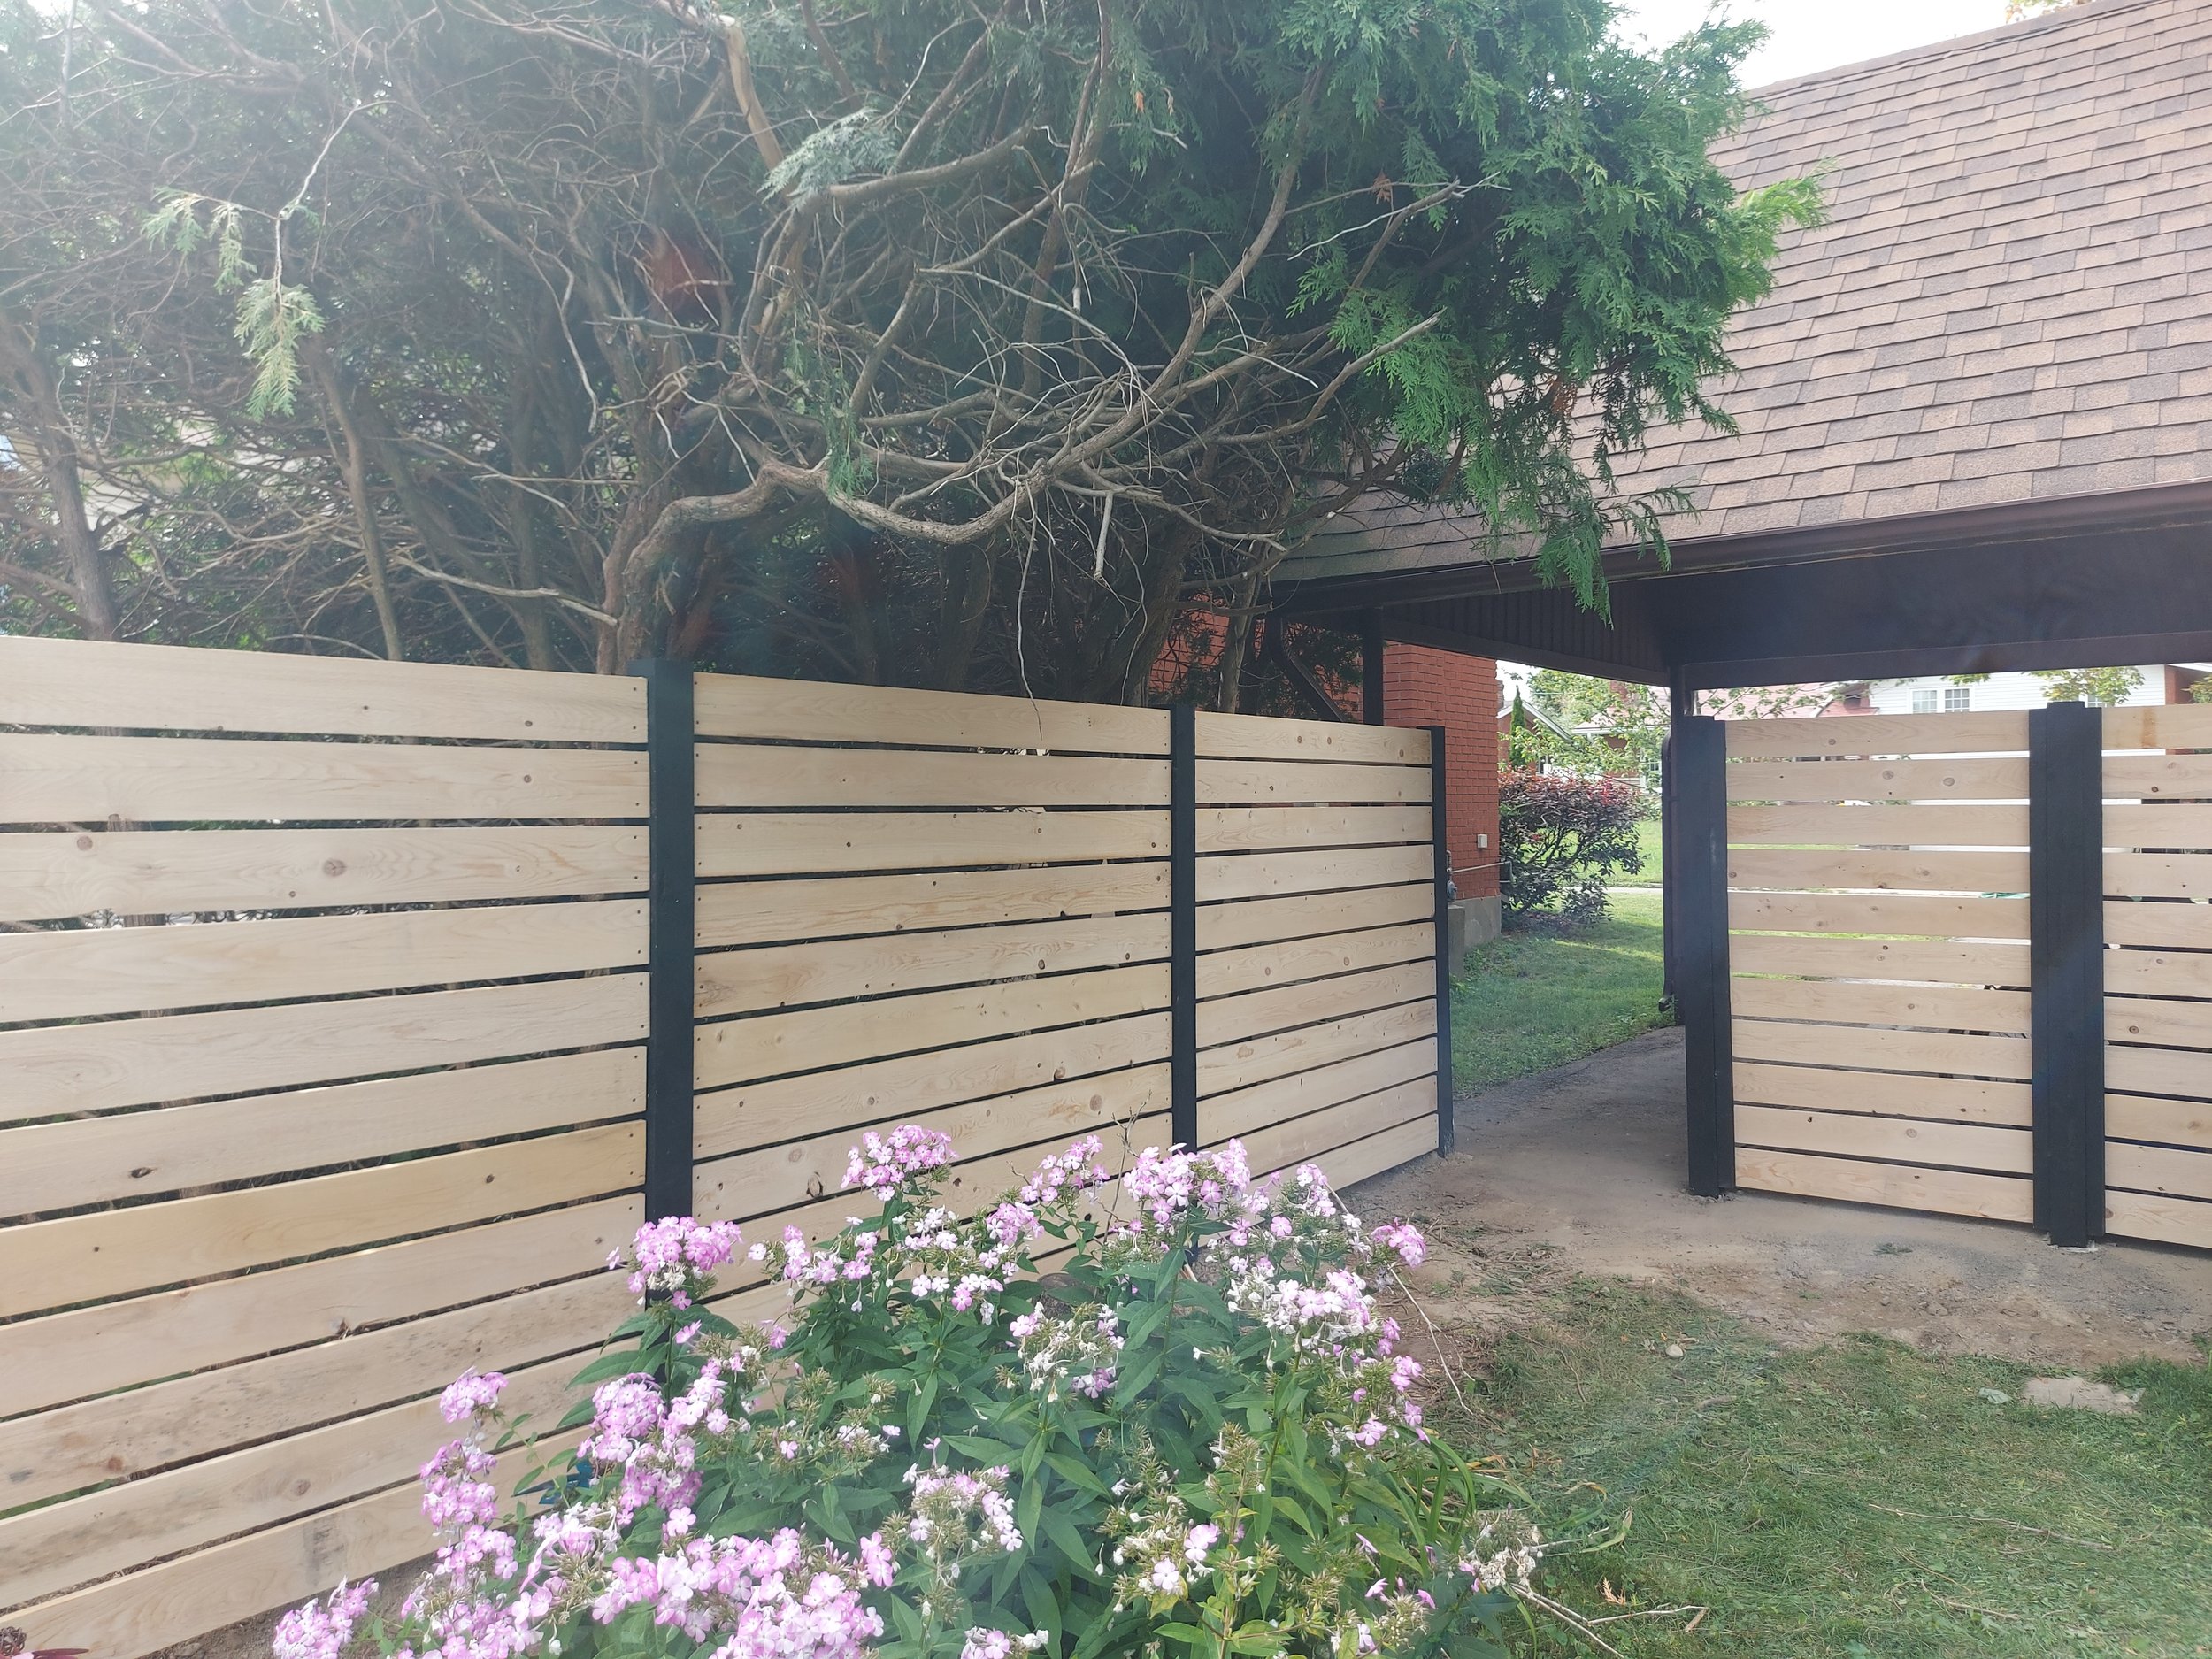
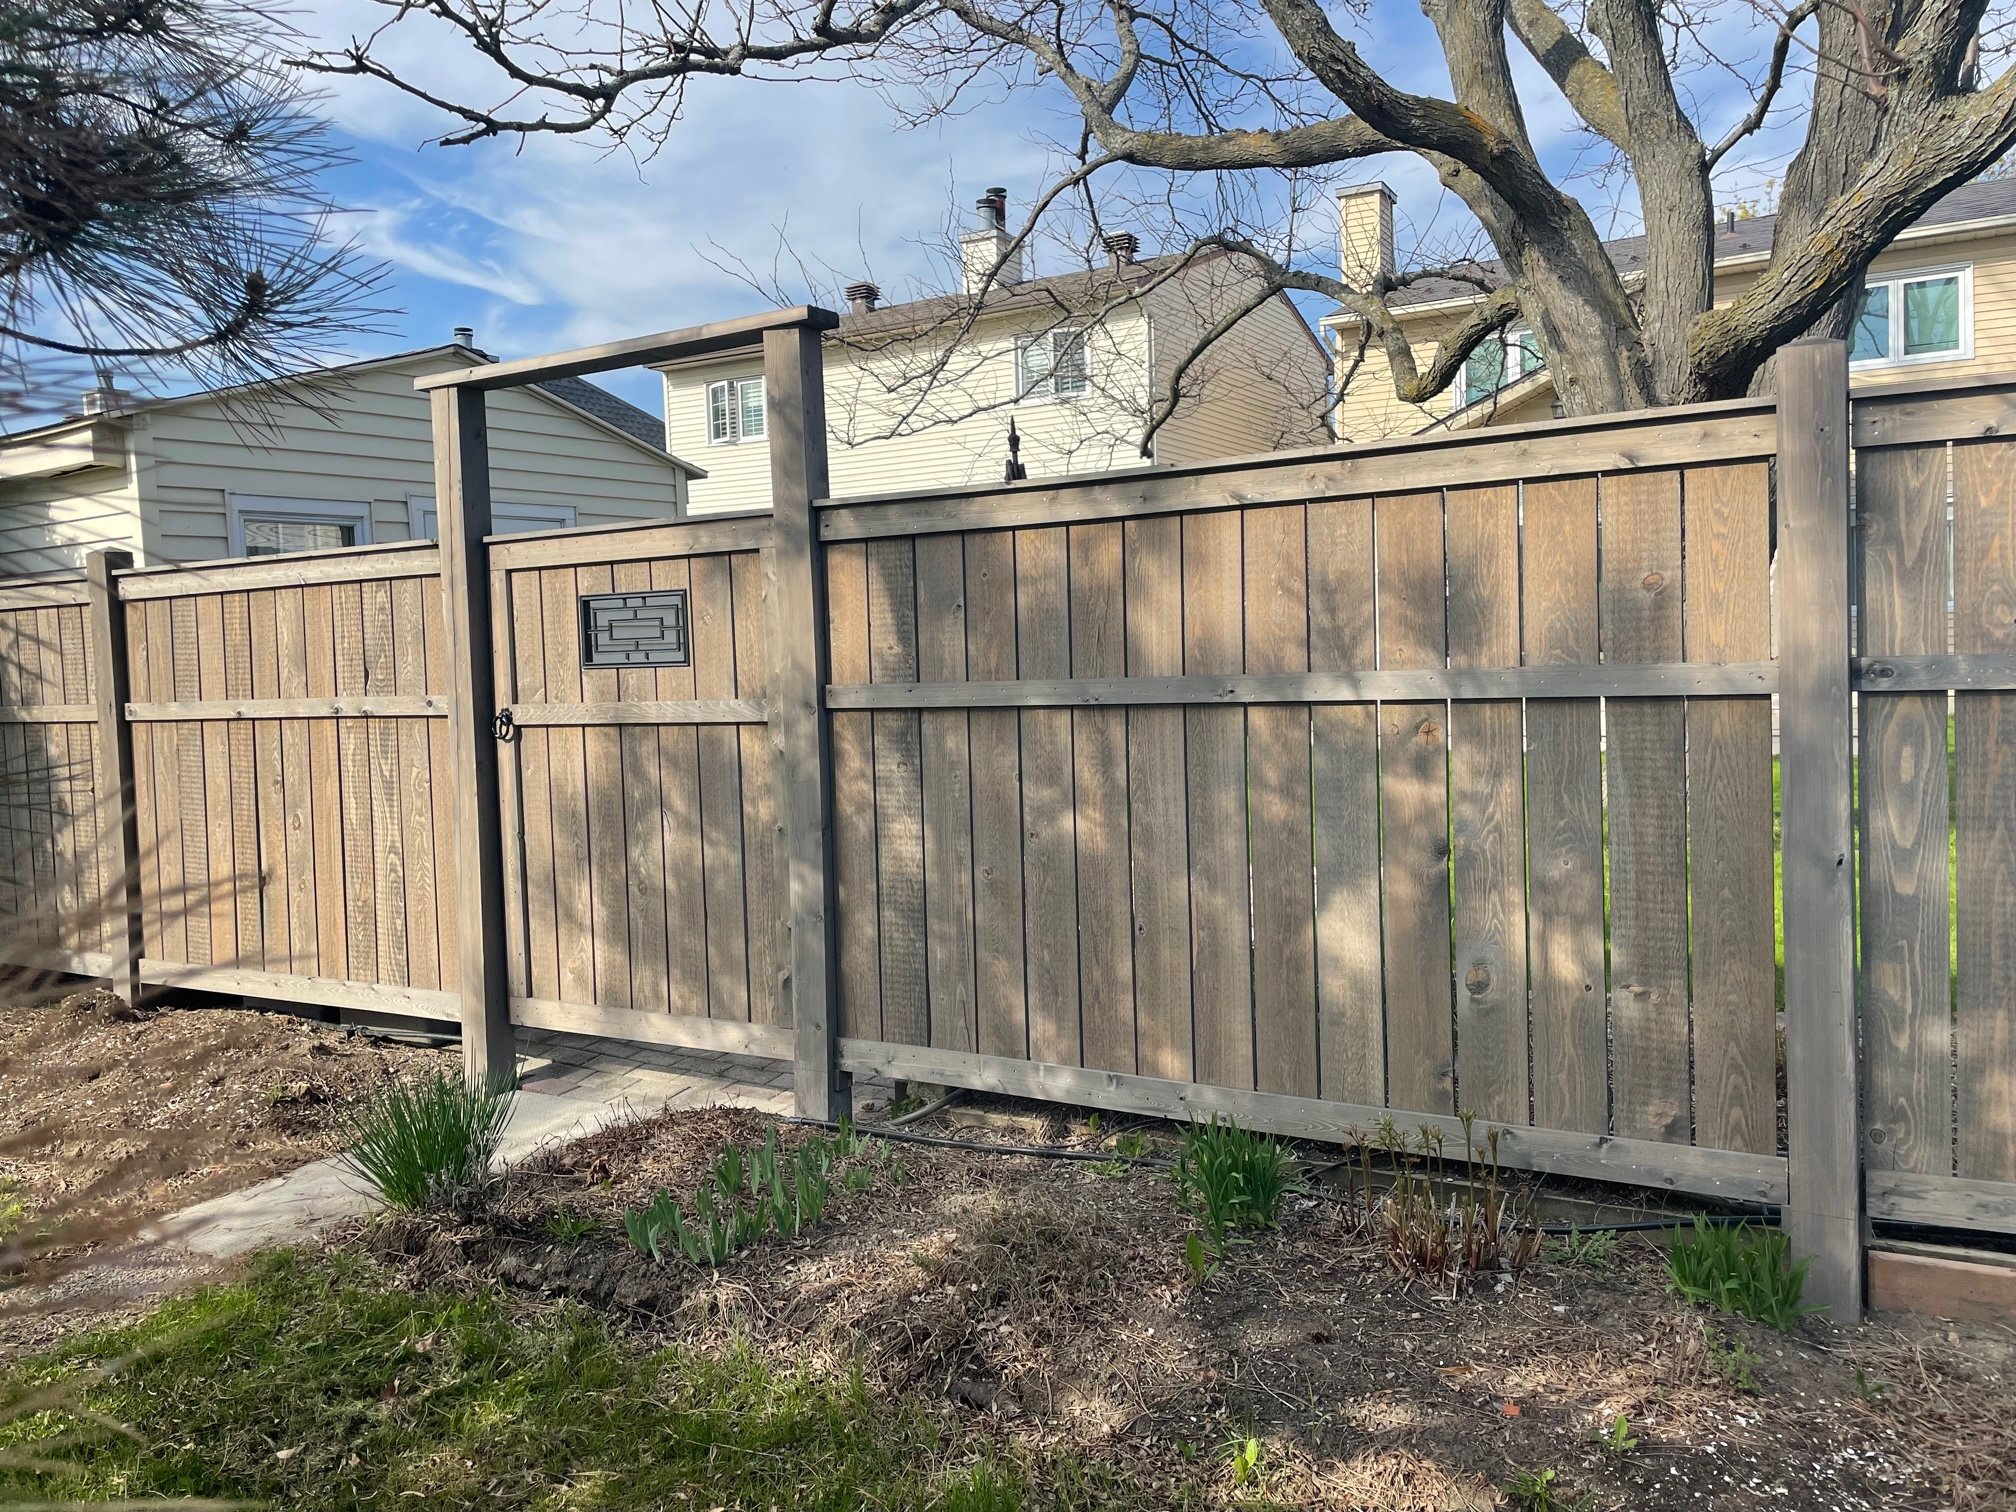
Timbertough’s How To's for Gate Installation
Well we have finally perfected the how to’s of gates, specifically our process for gate installation. Here are a simple set of instructions to hang your gates. Good Luck! If you run into trouble, call us for help and we’d be more than happy to assist you.
Step 1:
When installing a gate fasten a piece of 1x2 to the face of the gate (the 1x2 should stick out past both sides of the approx 6”) near the top but not where it will interfere with the hinges.
Step 2:
Once the 1x2 is installed, lift the gate into place and center between the posts.
Step 3:
Using a couple of screws fasten the 1x2 to the posts, this will hold the gate in place while you install the hardware.
Step 4:
Once the hardware is installed remove the 1x2 and install the catch latch on the post. Typical latch height is approx. 36-40” from grade.
Step 5:
Once the catch has been installed test the gate to make sure the latch is working properly.
Step 6:
Once the latch has been tested and is working properly you can install the padlock eyes.